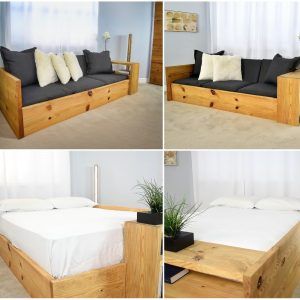
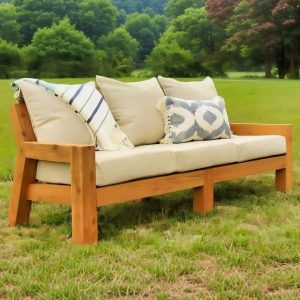
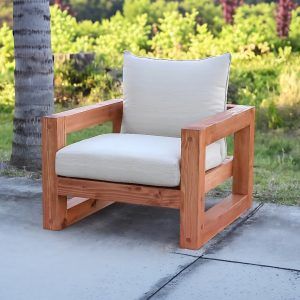
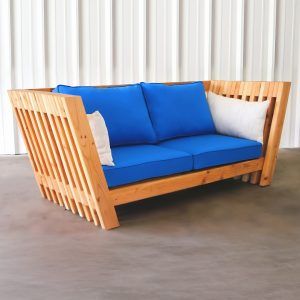
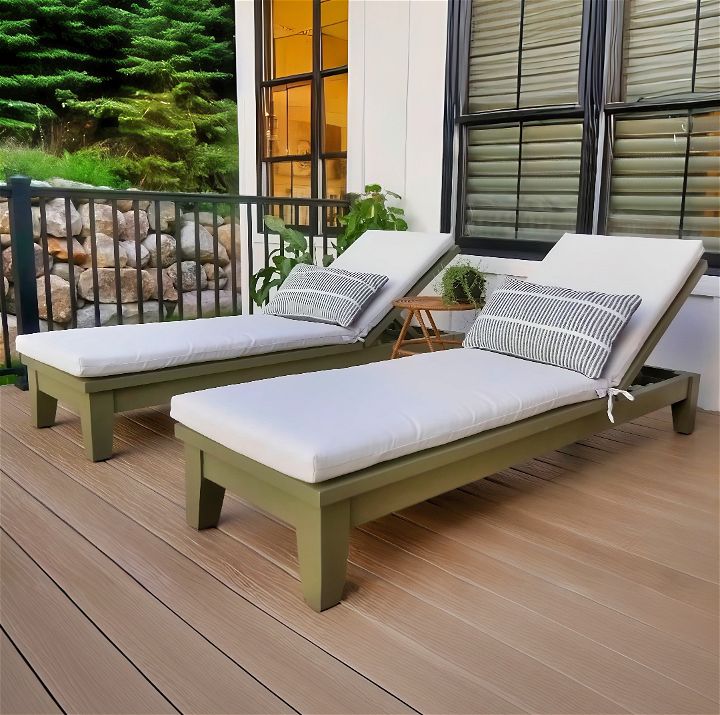
Making a comfortable and stylish outdoor living space doesn’t have to break the bank or require advanced carpentry skills. Learn how to build your own DIY outdoor chaise lounge chairs, primarily using 2x4s and a few other materials. Inspired by the practical yet straightforward build process shared by Jamison at Rogue Engineer, this DIY chaise lounge project is perfect for DIY enthusiasts looking to add a personal touch to their outdoor spaces.
Why Trust This Guide
With years of crafting and DIY experience, especially in woodworking, the original project was carefully designed, built, and shared online by a trusted DIYer, Jamison. He has tackled numerous projects, proving his expertise and commitment to helping others replicate his success. The steps outlined are based on first-hand experience, fine-tuned to ensure a smooth building process.
What Will This Guide Teach You?
By the end of this guide, you’ll learn how to:
- Design and construct a sturdy and comfortable chaise lounge chair.
- Choose the right materials and tools for outdoor furniture.
- Apply finishes to protect your creation from the elements.
- Customize the chair to fit your comfort and style needs.
Before We Dive In: Key Materials and Tools
- Materials: 2x4s for the frame, 4x4s for the legs, pocket hole screws, primer, exterior-grade paint, and sandpaper.
- Tools: Saw (hand saw, circular saw, or miter saw), pocket hole jig, drill, sander, paintbrushes or rollers.
Step by Step Guide
Step 1: Plan Your Chair
Start by sketching your design or using CAD software for precision. Decide on the dimensions according to your space and comfort preference. Consider visiting the Rogue Engineer website for detailed cut lists and dimensions.
Step 2: Cutting Your 2x4s and 4x4s
Based on your plan, cut the 2x4s and 4x4s to the required lengths. Remember, the legs are made from 4x4s, and adding a taper can offer a more refined look.
Step 3: Assemble the Frame
Use a pocket hole jig to drill pocket holes into the ends of your cut pieces. Assemble the frame of your lounge chair using pocket hole screws, ensuring everything is squared and securely fastened.
Step 4: Sand and Prepare for Finish
Before adding any paint or primer, thoroughly sand your assembled frame to remove any rough edges or splinters. This will ensure a smooth, professional finish.
Step 5: Prime and Paint
Apply a coat of primer designed for exterior use and allow it to dry according to the manufacturer’s instructions. Once dry, apply your chosen exterior-grade paint color. Gladiator Gray is a great choice, but feel free to choose a color that matches your outdoor decor.
Step 6: Attach the Support Arm
Create the support arm for the backrest, ensuring it can adjust for various recline positions. Drill holes carefully and use carriage bolts to attach it to the backrest portion.
Step 7: Final Assembly
Once the paint is dry, attach the hinges and slats to the frame, ensuring even spacing for a comfortable seat. Finish by attaching the backrest.
FAQs
Q: Can I use different materials for the legs?
A: Yes, you can use different materials, but ensure they’re durable enough to support weight and withstand outdoor elements.
Q: How do I ensure the chair withstands weather conditions?
A: Use exterior-grade primer, paint, and sealant to protect your chair. Regular maintenance may be required depending on your climate.
Q: Can the design be adjusted for different sizes?
A: Absolutely. Adjust the lengths of 2x4s and 4x4s based on your specific size requirements. Keep proportions in mind for stability.
Q: What if I don’t have a pocket hole jig?
A: You can use alternative joining methods, such as brackets or directly screwing the pieces together, though this may affect the final look.
Q: How can I make the lounge chair more comfortable?
A: Consider adding custom cushions or pillows for extra comfort and style.
Tips and Tricks
- Pre-drill holes to prevent wood from splitting.
- Measure twice, cut once to avoid waste and ensure accuracy.
- Consider adding wheels for easy mobility.
- Apply a waterproof sealant for extra protection against moisture.
- Customize with accessories, such as side tables or cup holders, for added functionality.
Want a Visual Demonstration?
Watch a step-by-step video tutorial on YouTube for a clear and easy-to-understand walkthrough of the techniques. This video can serve as a great companion to this written guide.
Conclusion
Building your own outdoor chaise lounge chairs can be a rewarding project that adds comfort and style to your outdoor space. By following these steps, using the right materials, and applying a protective finish, you’ll create a durable piece of furniture that you can enjoy for years to come. Happy building!
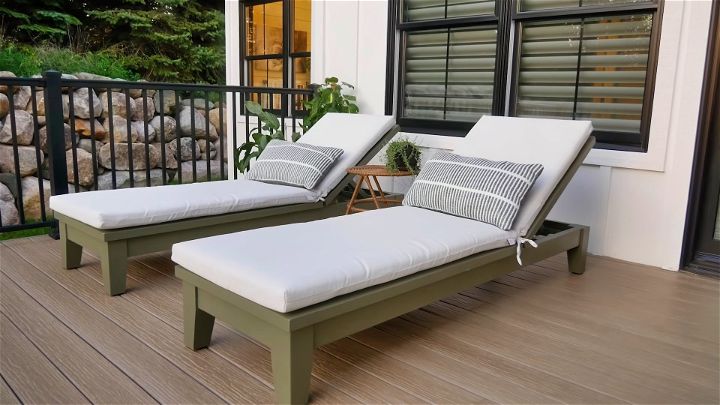
Learn how to build a DIY outdoor chair with this step-by-step plan.
FAQS About DIY Chaise Lounge
Discover all the answers to your DIY chaise lounge questions in this comprehensive FAQ guide. Easy-to-follow tips and tricks await!
Can I use different wood types instead of 2x4s and 4x4s?
Yes, different types of wood can be used, but it’s important to choose ones suitable for outdoor use, like cedar, redwood, or treated pine, to ensure durability and weather resistance. Check the website’s materials section for specific wood requirements.
What if I don’t have a bandsaw for the tapers and profiles?
No bandsaw? No problem. You can use a jigsaw or handsaw for cutting tapers and profiles, though it might require more effort. Carefully follow the taper lines and profiles drawn, and ensure smooth edges by sanding as advised in the video.
How important is it to use pocket hole screws? Can I use regular screws?
While pocket hole screws are preferred for their strong joints and clean look, you can use regular wood screws with pilot holes to prevent splitting. This might alter the final appearance, necessitating screw head filling before painting.
Can I skip the primer if my wood is pre-treated?
Even for pre-treated wood, applying primer is recommended to enhance paint adhesion and durability, especially outdoors. It also ensures the paint’s true color. Follow the video’s painting section for preparation tips.
What if I over-tighten the nut on the carriage bolt and the back doesn’t move smoothly?
If the back support doesn’t move smoothly, slightly loosen the nut to reduce friction. The DAP Tank Bond Thread Stopper mentioned ensures the nut stays in place without being fully tightened, preventing loosening over time.
How can I ensure the slats are evenly spaced?
Lay out the slats on the frame to measure and adjust spacing before attaching. Aim for a little over half an inch around each slat, securing them with screws from below once satisfied with the spacing.
What should I do if I can’t find the same cushions mentioned in the guide?
The loungers fit standard chaise lounge cushions (24 inches wide, 48 inches deep for the seat, and 30 inches tall for the back). If you can’t find the exact cushions, search for similar dimensions. Many retailers offer suitable options.
Share on Pinterest
Save these DIY chaise lounge plans for your next project – Pin it now; your future relaxation spot awaits!


