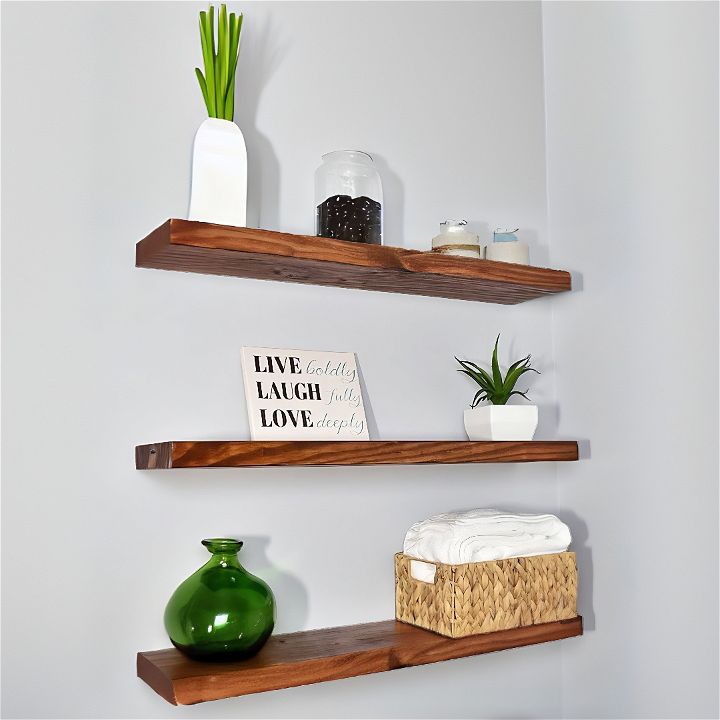
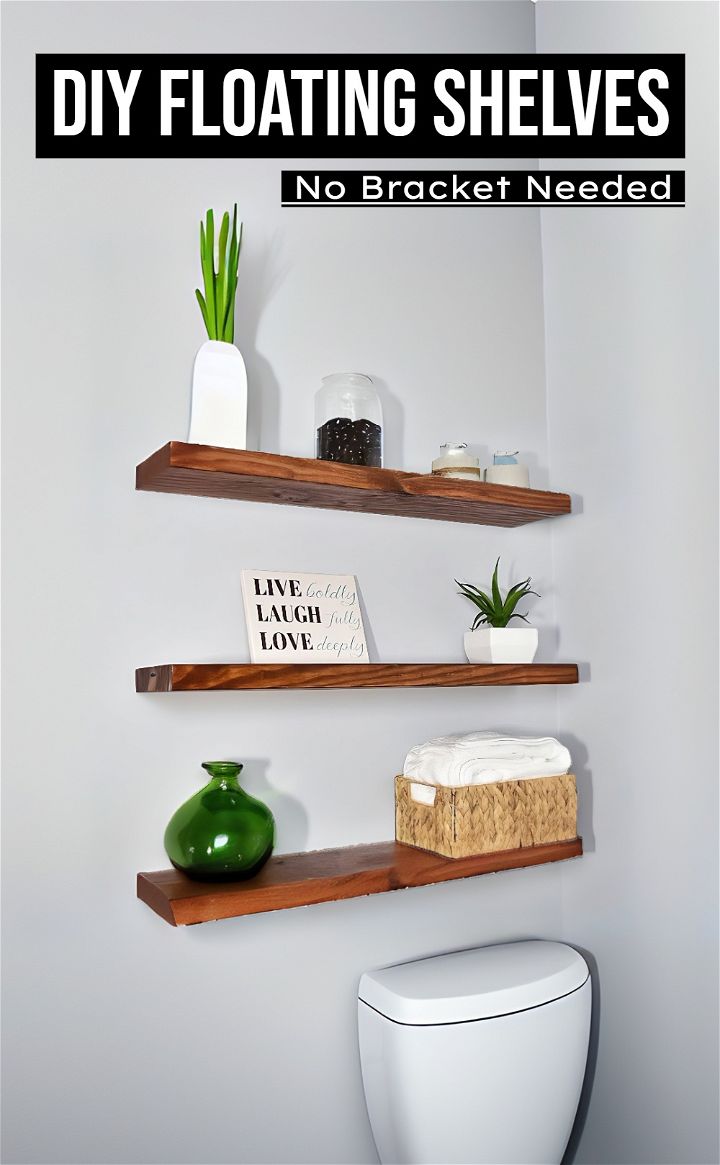
Floating shelves are a stylish and practical addition to any room, offering a sleek look without visible brackets. In this guide, learn how to make floating shelves yourself, drawing on the DIY expertise from a comprehensive YouTube tutorial by a skilled DIY creator. This DIY floating shelves project requires minimal materials and tools and can be completed for less than $10. You’ll learn about choosing the right materials, precise cutting and drilling techniques, and how to finish and install your shelves seamlessly.
What Will I Get Out of This?
This guide will teach you step-by-step how to make your own sturdy and stylish floating shelves without the need for brackets. You’ll gain practical skills in woodworking, including measuring, cutting, and finishing. This DIY project is perfect for beginners and can help you transform any space in your home with custom shelving. By the end, you’ll have created up to three floating shelves ready to display your favorite items.
Materials and Tools Needed
- One 2″ x 8″ x 8′ lumber: The base material for your shelves.
- A 36″ oak dowel: This will be cut into sections to create the floating effect.
- Tools: Circular saw, drill, sander, half-inch bit.
- Finishing supplies: Sandpaper, wood stain, polyurethane spray.
Why these materials? The size of the lumber and dowel ensures a sturdy and balanced shelf, capable of holding various items. The tools listed will help you accurately cut and prepare the wood, while the finishing supplies will give your shelves a professional and durable finish.
Step-by-Step Instructions
Preparing the Wood
- Cut Your Lumber: Measure and mark your lumber into three equal sections, accounting for any imperfections. Use a circular saw to make the cuts, supporting the lumber as needed.
- Mark and Cut Your Dowels: Divide your 36-inch dowel into nine 4-inch pieces. These will act as the supports for your shelves.
Drilling Holes
- Mark for Dowels: On each shelf piece, mark the middle and two inches from each edge. Find the center point of each line and mark for drilling.
- Drill Holes: Using a half-inch bit with tape to mark depth, drill holes for the dowels. Pre-drilling helps ensure that dowels fit snugly and align correctly.
Assembling the Shelves
- Sand and Fit Dowels: Lightly sand your dowels, especially the parts that will fit into the shelf fronts, ensuring they can easily slide in and out.
- Insert Dowels: Secure the dowels into the holes drilled in step 2. For the back of the shelf, where the dowels will not move, you may choose to add glue for extra stability.
Finishing Touches
- Sanding: Smooth all surfaces of the shelf with sandpaper.
- Staining: Apply your chosen stain with a cloth, wiping away excess.
- Sealing: Finish with a layer or two of polyurethane spray to protect the wood.
Installing the Shelves
- Drill Mounting Holes: In the section of the wood that will attach to the wall, drill holes for your screws. Ensure these are positioned to align with studs in your wall for a secure mount.
- Mount Shelf Supports: Using screws, secure the wood with the dowels fixed to your wall, finding studs or using appropriate wall anchors.
- Add Shelves: Align the holes on the shelves with the dowels on the wall mounts and slide them into place. Add a safety screw through the dowel into the shelf if desired for additional stability.
Expanding Your Project
Consider experimenting with different sizes or wood types for your shelves. Larger shelves or denser woods may require additional support or different mounting strategies.
Common Pitfalls
- Not measuring twice: Accuracy is key in ensuring your shelves are even and fit together smoothly.
- Skipping sanding and finishing: These steps not only improve the appearance of your shelves but protect the wood long-term.
- Inadequate mounting: Ensure your shelves are securely mounted to the wall by locating studs or using suitable anchors.
Why This Method?
This approach to DIY floating shelves is efficient, cost-effective, and customizable. By avoiding brackets, the shelves have a clean, minimalist appearance. Plus, the skills you learn can be applied to various other woodworking projects.
Video Tutorial
Want a visual demonstration? Watch a step-by-step video tutorial on YouTube. It provides a clear and easy-to-understand visual walkthrough of the techniques, making it a great companion to this written guide.
Customization is Key
While the allure of no-bracket floating shelves lies in their clean, minimalist look, don’t let that limit your creativity! Here’s how to make your floating shelves stand out and seamlessly integrate into your home’s unique style:
- The Right Finish for Your Space: Experiment with wood stains and paints to achieve your desired look. Consider these trendy options:
- Warm minimalism: Light wood stains for a Scandinavian or Japandi feel.
- Bold and modern: Vibrant paint colors to make a statement.
- Industrial chic: Dark stains paired with metallic accents.
- Adapt Them to Your Needs:
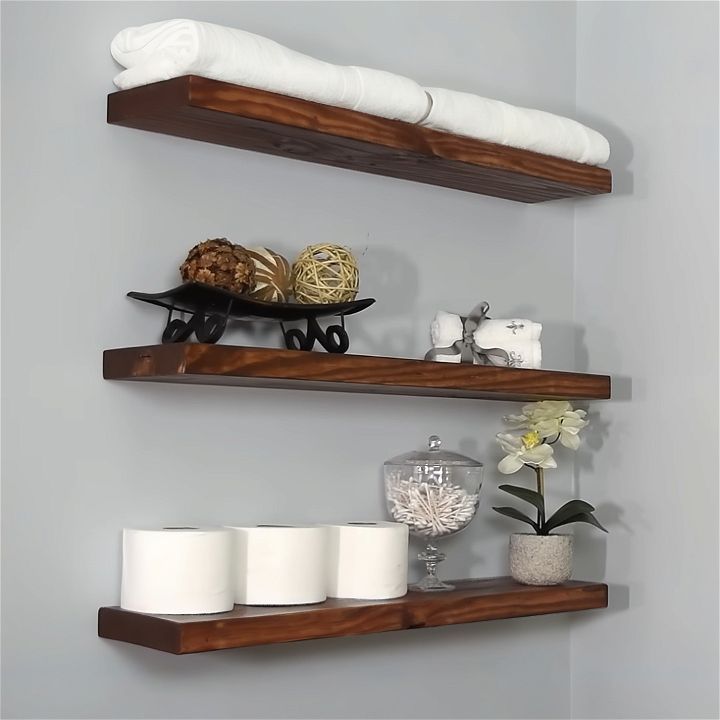
- Bathroom bliss: Use waterproof finishes and consider smaller floating shelves for toiletries and towels.
- Kitchen organization: Choose sturdy wood and a wider shelf depth for pantry items or cookbooks.
- Office essentials: Install them above your desk for files or decorative items to break up the workspace.
- Styling With Personality: Don’t just use the shelves – decorate them!
- Plants and small succulents for a touch of nature.
- Personal mementos and framed photos.
- Art prints and sculptures.
- Stacked books for a cozy touch.
Remember: With a few simple customizations, your floating shelves can go from functional to fabulous, reflecting your personality and enhancing your living space.
Alternative Methods to Build DIY Floating Shelves:
The above no-bracket shelves are a great way to achieve the floating shelf look. However, there are other techniques you can explore depending on your skills and the desired result. Here’s a closer look at two popular techniques: the French Cleat System and the Keyhole Slot System.
French Cleat System
The French Cleat System is a sturdy and reliable choice for your floating shelves. It involves two pieces of wood cut at complementary angles. One piece is attached to the wall, and the other is attached to the shelf. When mounted, the shelf slides down onto the wall piece, locking it in place. This not only provides excellent support but also allows for easy removal and adjustments of the shelf.
Pros:
- Beginner-friendly
- Strong support, suitable for heavier items
- Easy to adjust or remove shelves
Keyhole Slot System
For those who prefer a cleaner, more seamless look, the Keyhole Slot System is an excellent choice. This method involves routing keyhole-shaped slots into the back of the shelf. These slots then slide over screws fixed into the wall, securing the shelf in place. It requires a bit more precision and the right tools, but the outcome is a nearly invisible mounting system.
Pros:
- Clean, almost invisible support
- Secure hold for your items
- Great for a minimalist aesthetic
Things to Consider
- Skill Level: The French Cleat System is more forgiving and easier for beginners, whereas the Keyhole Slot System requires precise work and specific tools.
- Weight Capacity: If you plan to place heavy items on your shelves, the French Cleat System is more robust and better suited to your needs.
- Aesthetics: For those seeking a truly seamless and minimalist look, the Keyhole Slot System offers a less visible mounting solution.
FAQs: Your DIY Floating Shelves Questions, Answered
Making your own DIY floating shelves can be a fun and rewarding project. Here are answers to some frequently asked questions to help you get started on your DIY journey.
How can I ensure my floating shelves are secure?
It’s important to find wall studs and use strong screws during installation. This will give your shelves maximum stability.
How much weight can bracket-less floating shelves hold?
The weight capacity depends on wood thickness, shelf length, and the strength of your wall attachment. For heavier items, consider adding hidden supports or using one of the alternative methods mentioned above.
Can I use floating shelves in humid areas like the bathroom?
Yes! Choose a moisture-resistant wood like cedar or teak. Opt for a waterproof sealant or paint to protect the wood from moisture.
What if I don’t have a stud finder?
There are a few tricks! Try knocking on the wall (studs sound solid). Look for electrical outlets, as they’re often secured to studs. Or, try a strong magnet to locate nails that might indicate a stud.
Can I customize the length of my floating shelves?
Absolutely! Measure your desired length carefully and cut the wood accordingly. Just remember, longer shelves might require additional support to prevent sagging.
What’s the best way to hide the hollow back of the shelf?
You can paint the inside of the shelf the same color as your wall to make it blend in. Another option is adding a backing board that matches the shelf’s finish.
My shelf is tilting forward. How do I fix this?
First, ensure your shelf is level and mounted securely to the wall. If the problem persists, you might need to add more support toward the front edge to prevent it from dipping.
How much does it cost to DIY floating shelves?
The cost can vary, but making your own floating shelves can be quite economical. Depending on the materials you choose, you can complete the project for less than $10 per shelf if you have access to the basic tools required.
What is the best wood to use for floating shelves?
The choice of wood can depend on your budget and the aesthetic you’re aiming for. Common choices include pine for a cost-effective option or hardwoods like oak for a more durable shelf. The key is to choose a wood that can support the weight you plan on placing on the shelves.
How do I ensure my floating shelves are stable?
To ensure stability, make sure to drill the mounting holes in a way that they align with the wall studs. Using appropriate wall anchors if studs aren’t available can also help secure your shelves firmly.
Can I customize the look of my floating shelves?
Absolutely! You can customize your floating shelves by experimenting with different wood stains, paints, or finishes. You can also adjust the size and number of shelves to suit your space and needs.
How do I protect my floating shelves from wear and tear?
Applying a finish like polyurethane spray can help protect your shelves from wear and tear. It adds a protective layer that can make your shelves more durable against scratches and moisture.
What are common pitfalls to avoid when making floating shelves?
Ensure accuracy by measuring twice before cutting, and don’t skip the sanding and finishing steps, as these are crucial for both the appearance and longevity of your shelves. Also, make sure your shelves are securely mounted to the wall to avoid any accidents.
Conclusion
By following these instructions, you’ll be able to make your own floating shelves that look great in any room. Whether you’re an experienced DIYer or a beginner, this project offers valuable woodworking practice and the satisfaction of creating something both beautiful and functional for your home.

